How to Print and Make Selfie for KYC
Step-by-step guide to generate, print, and take a selfie with your prank document.
Onlyfake Team
Document generation experts passionate about the intersection of AI and automation. We help businesses streamline their document workflows with cutting-edge technology.
How to Print and Make Selfie for KYC
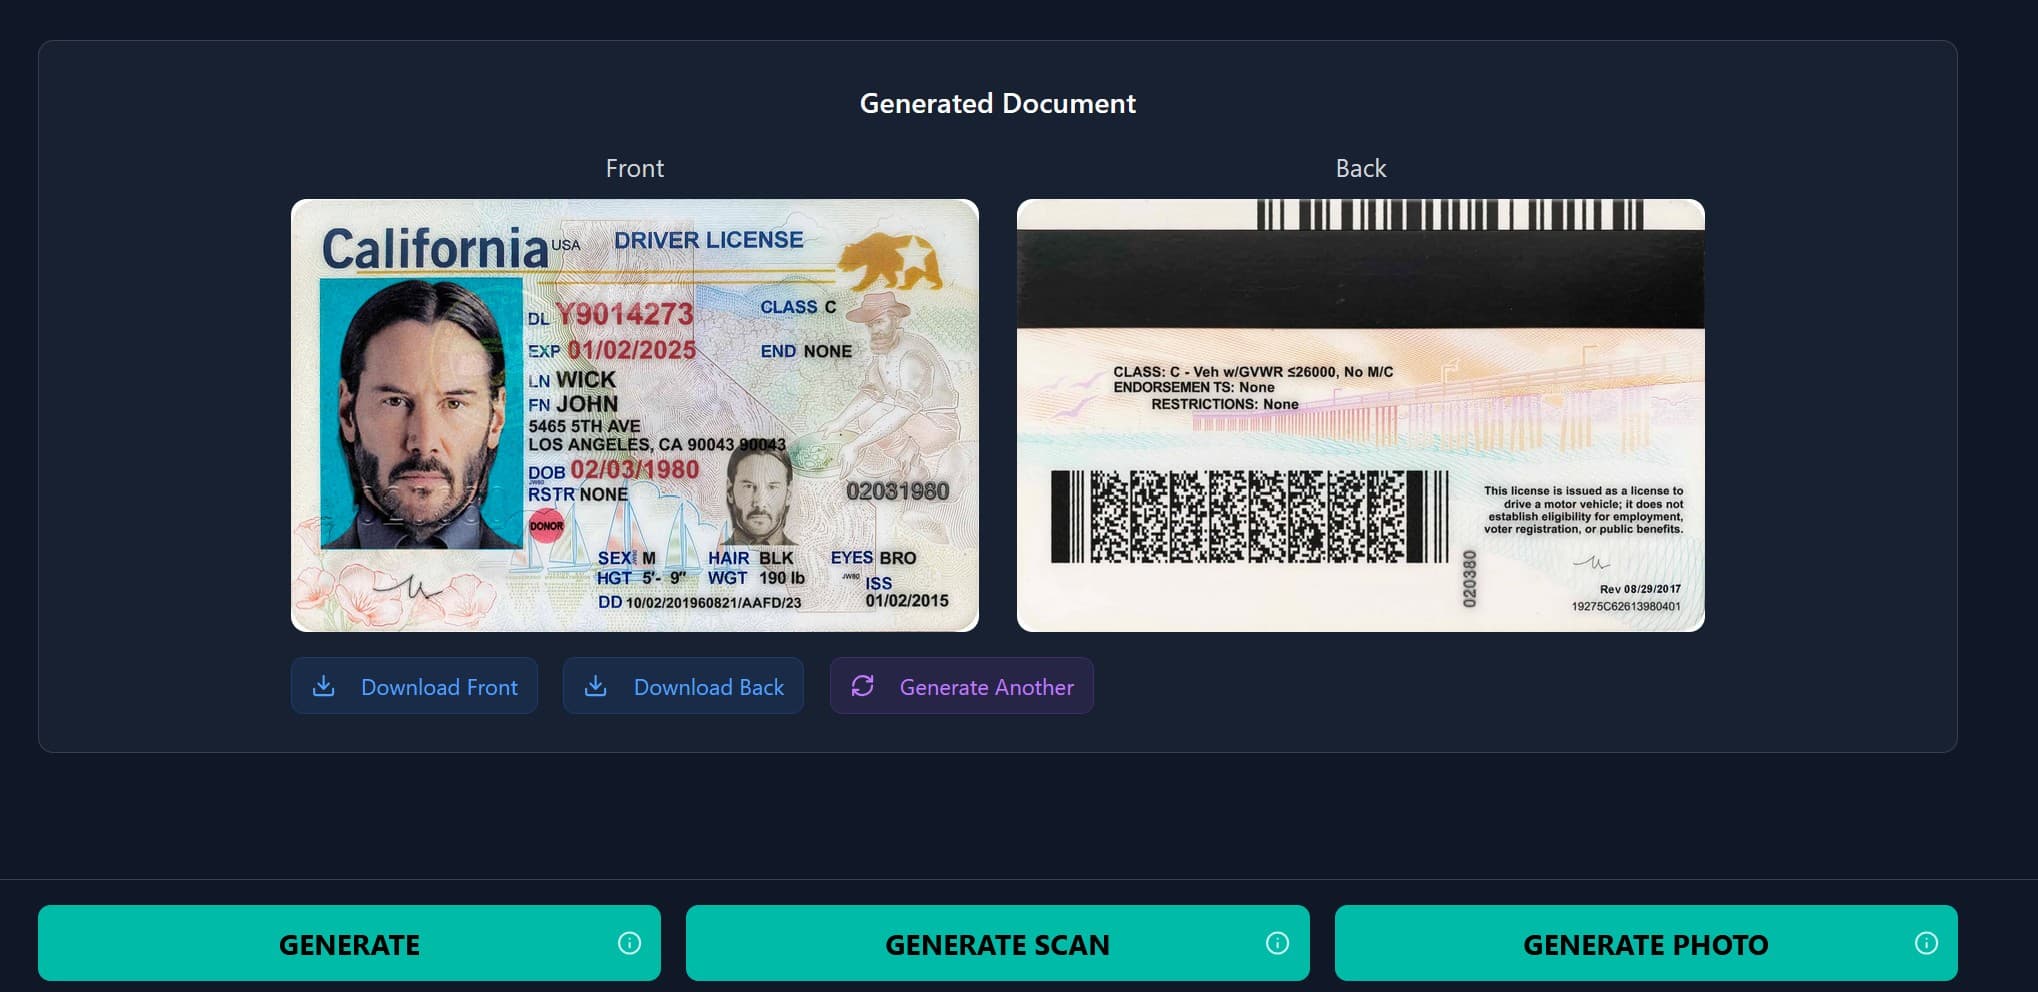
1. Generate a Scanned Document
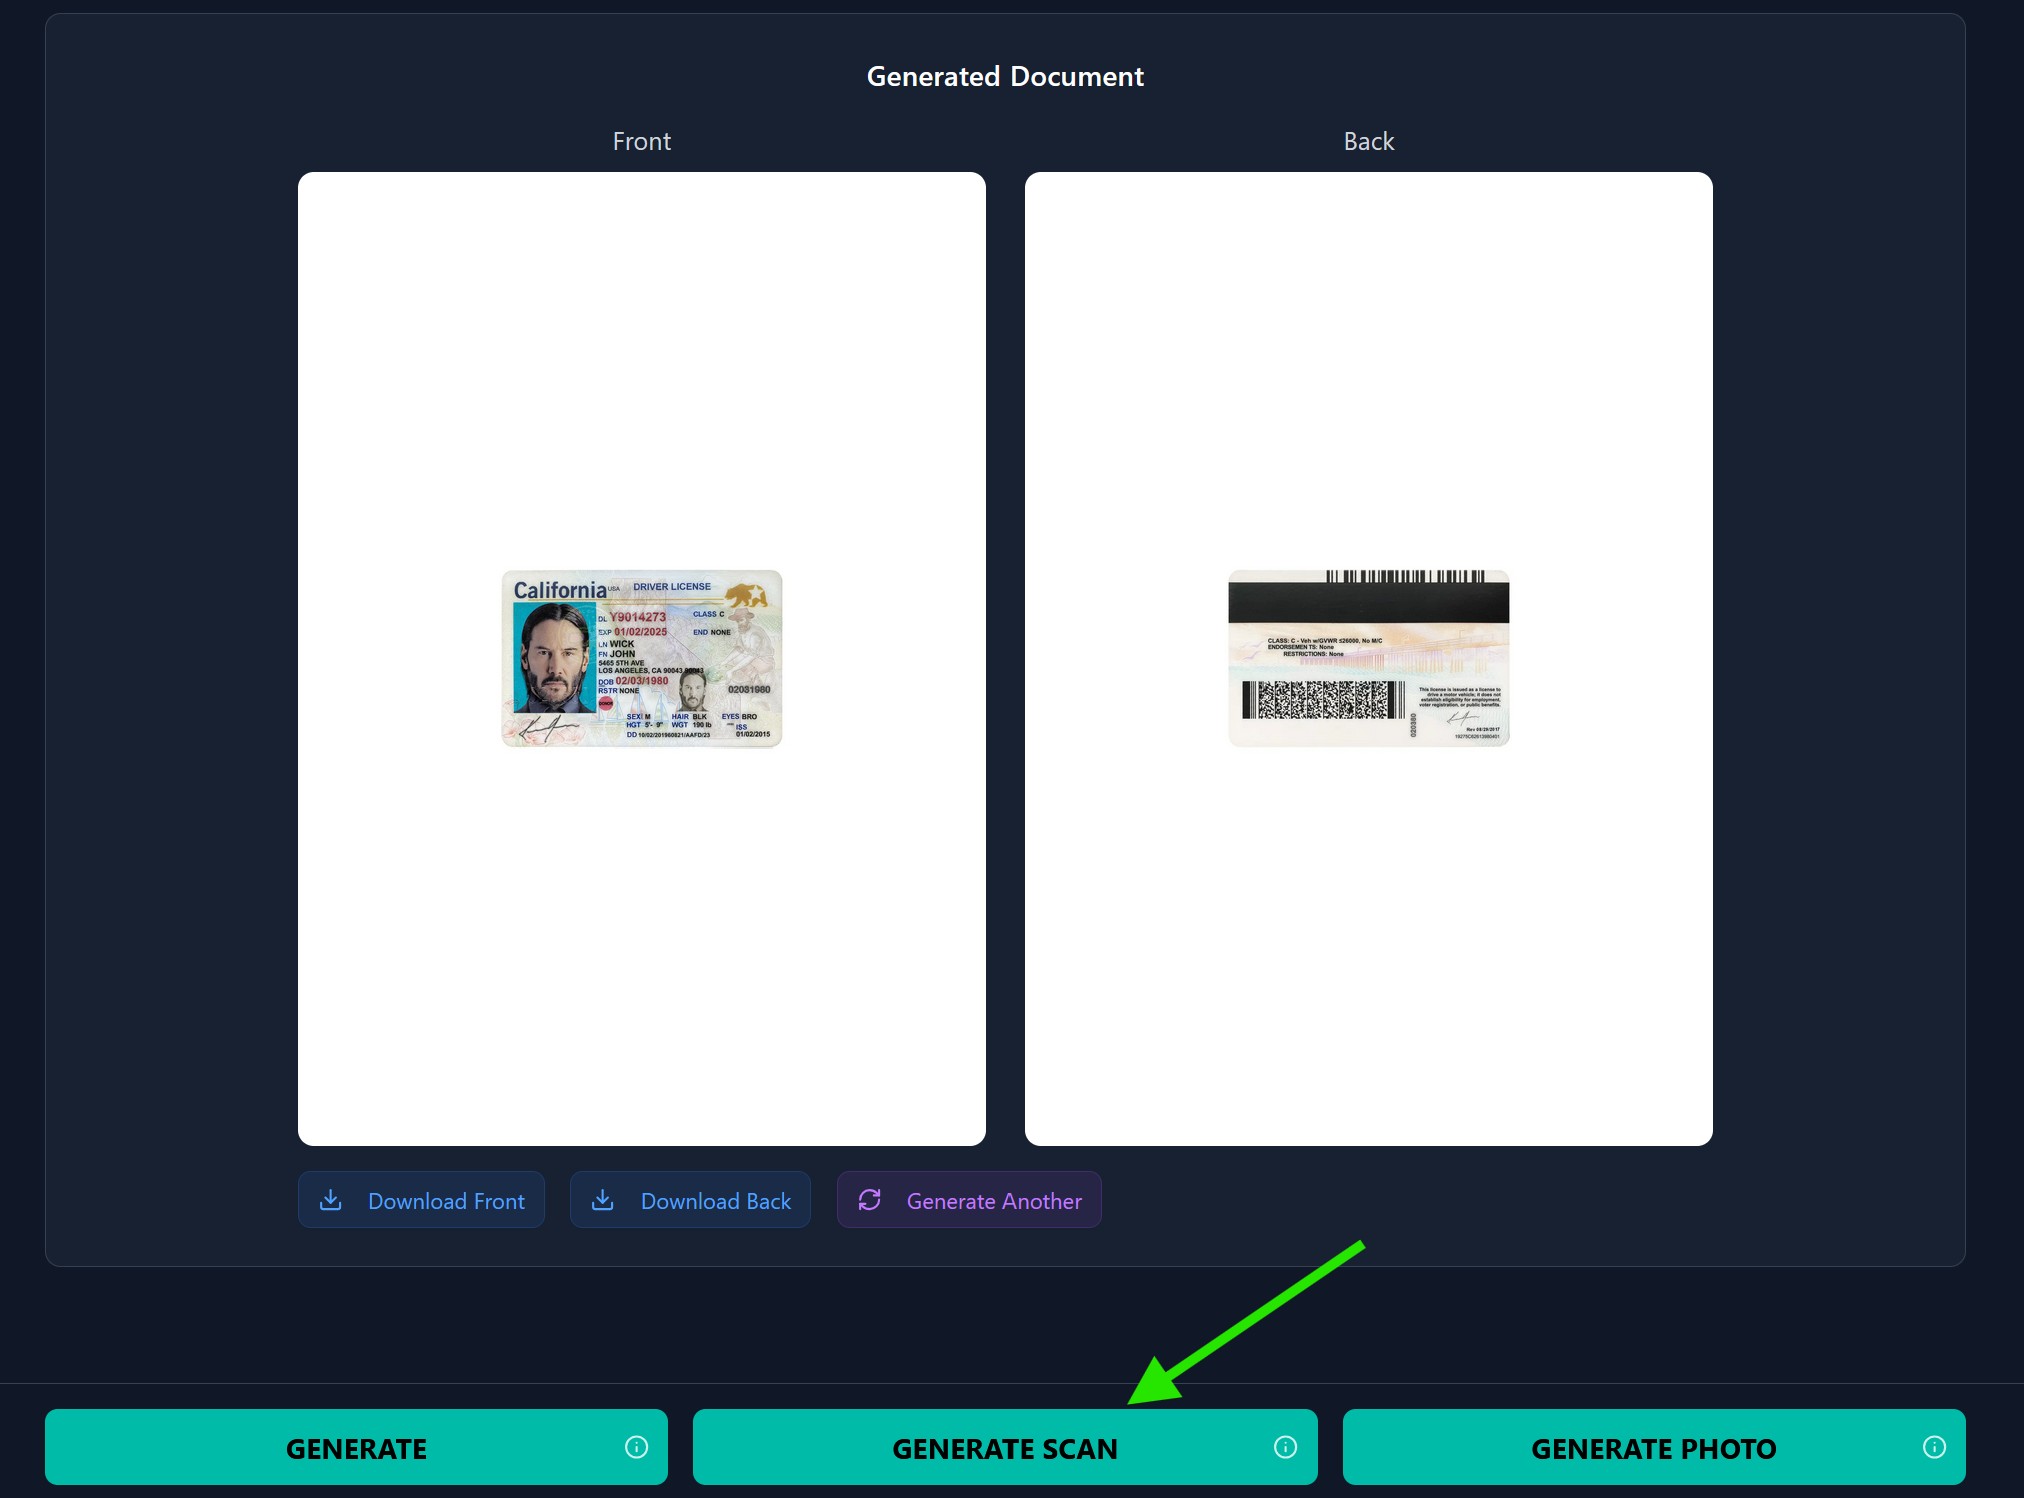
After filling your document, click Generate Scan to create a version that looks like it was scanned.
Wait a short moment until the scanned copy is ready.
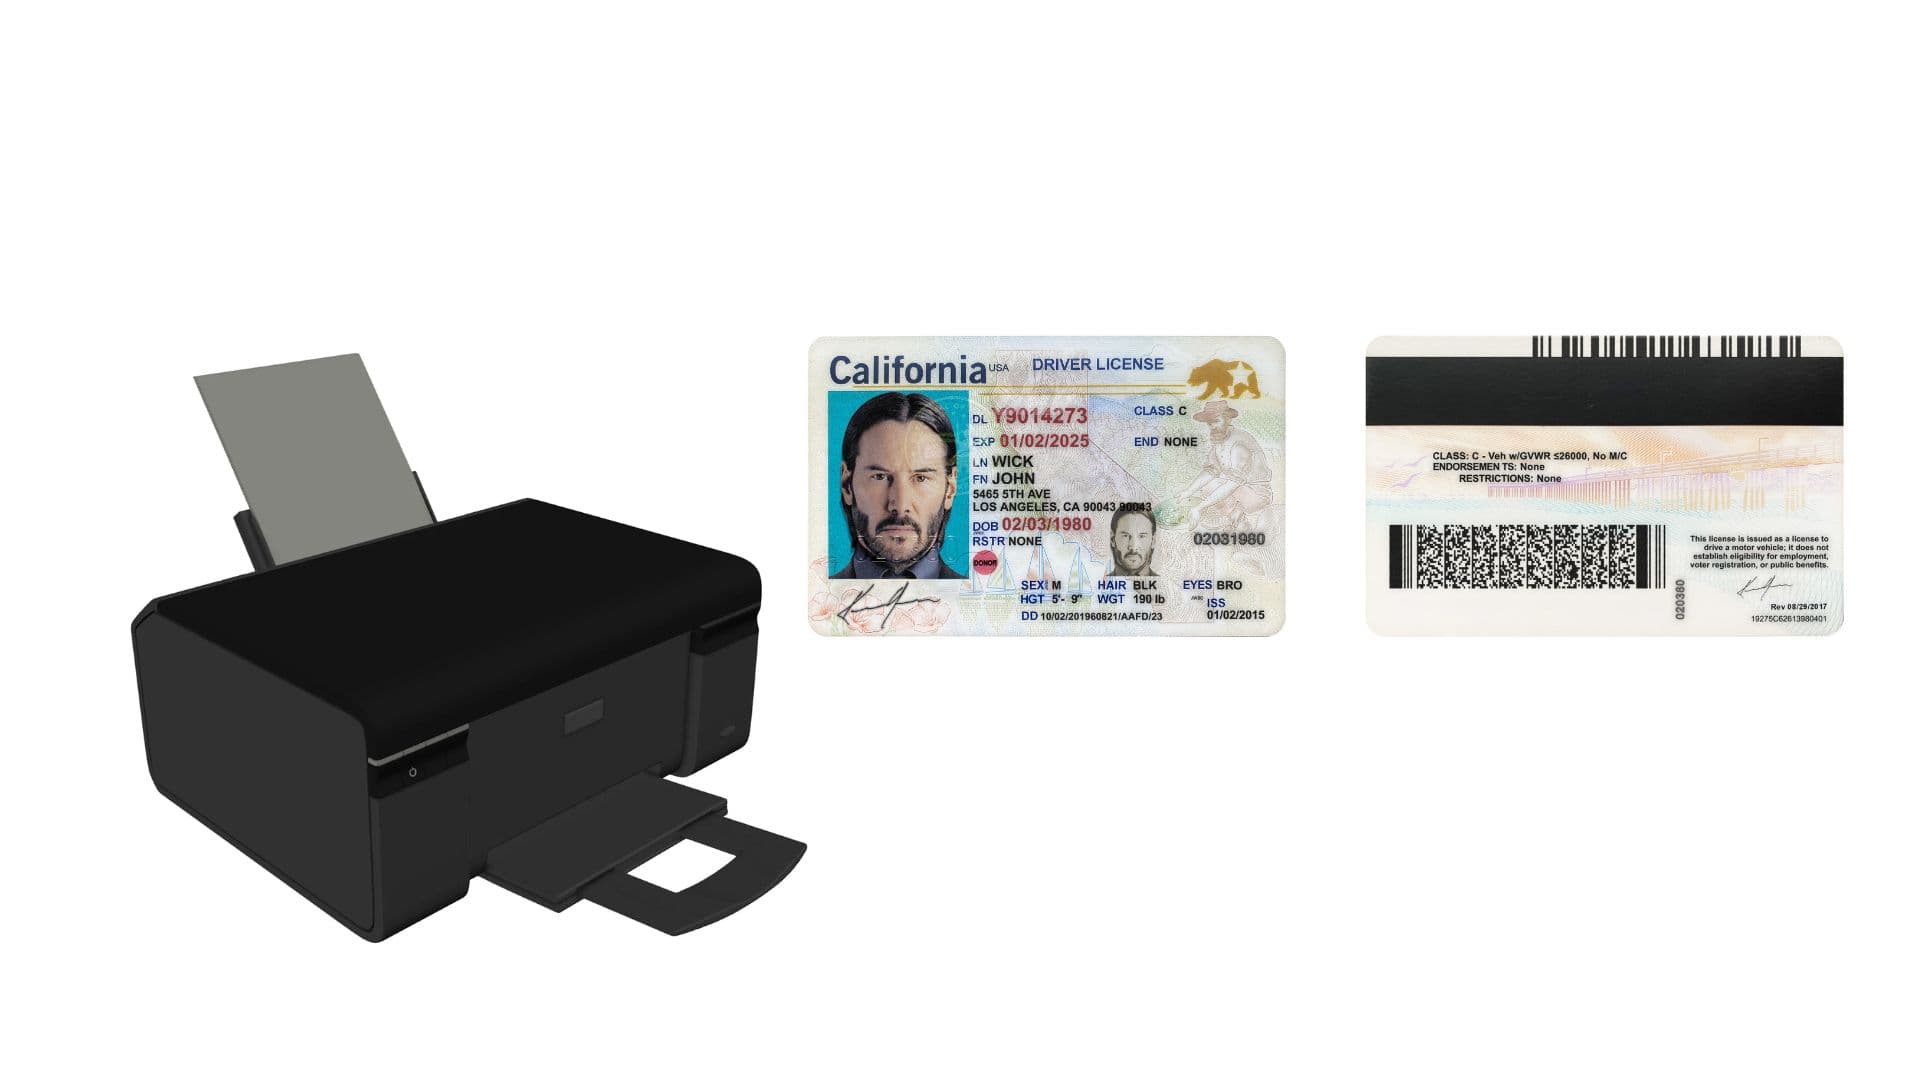
2. Print Your Scanned Document
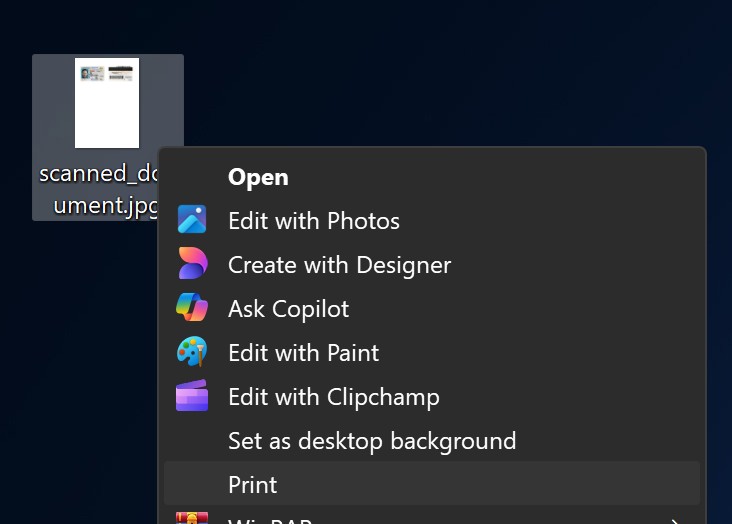
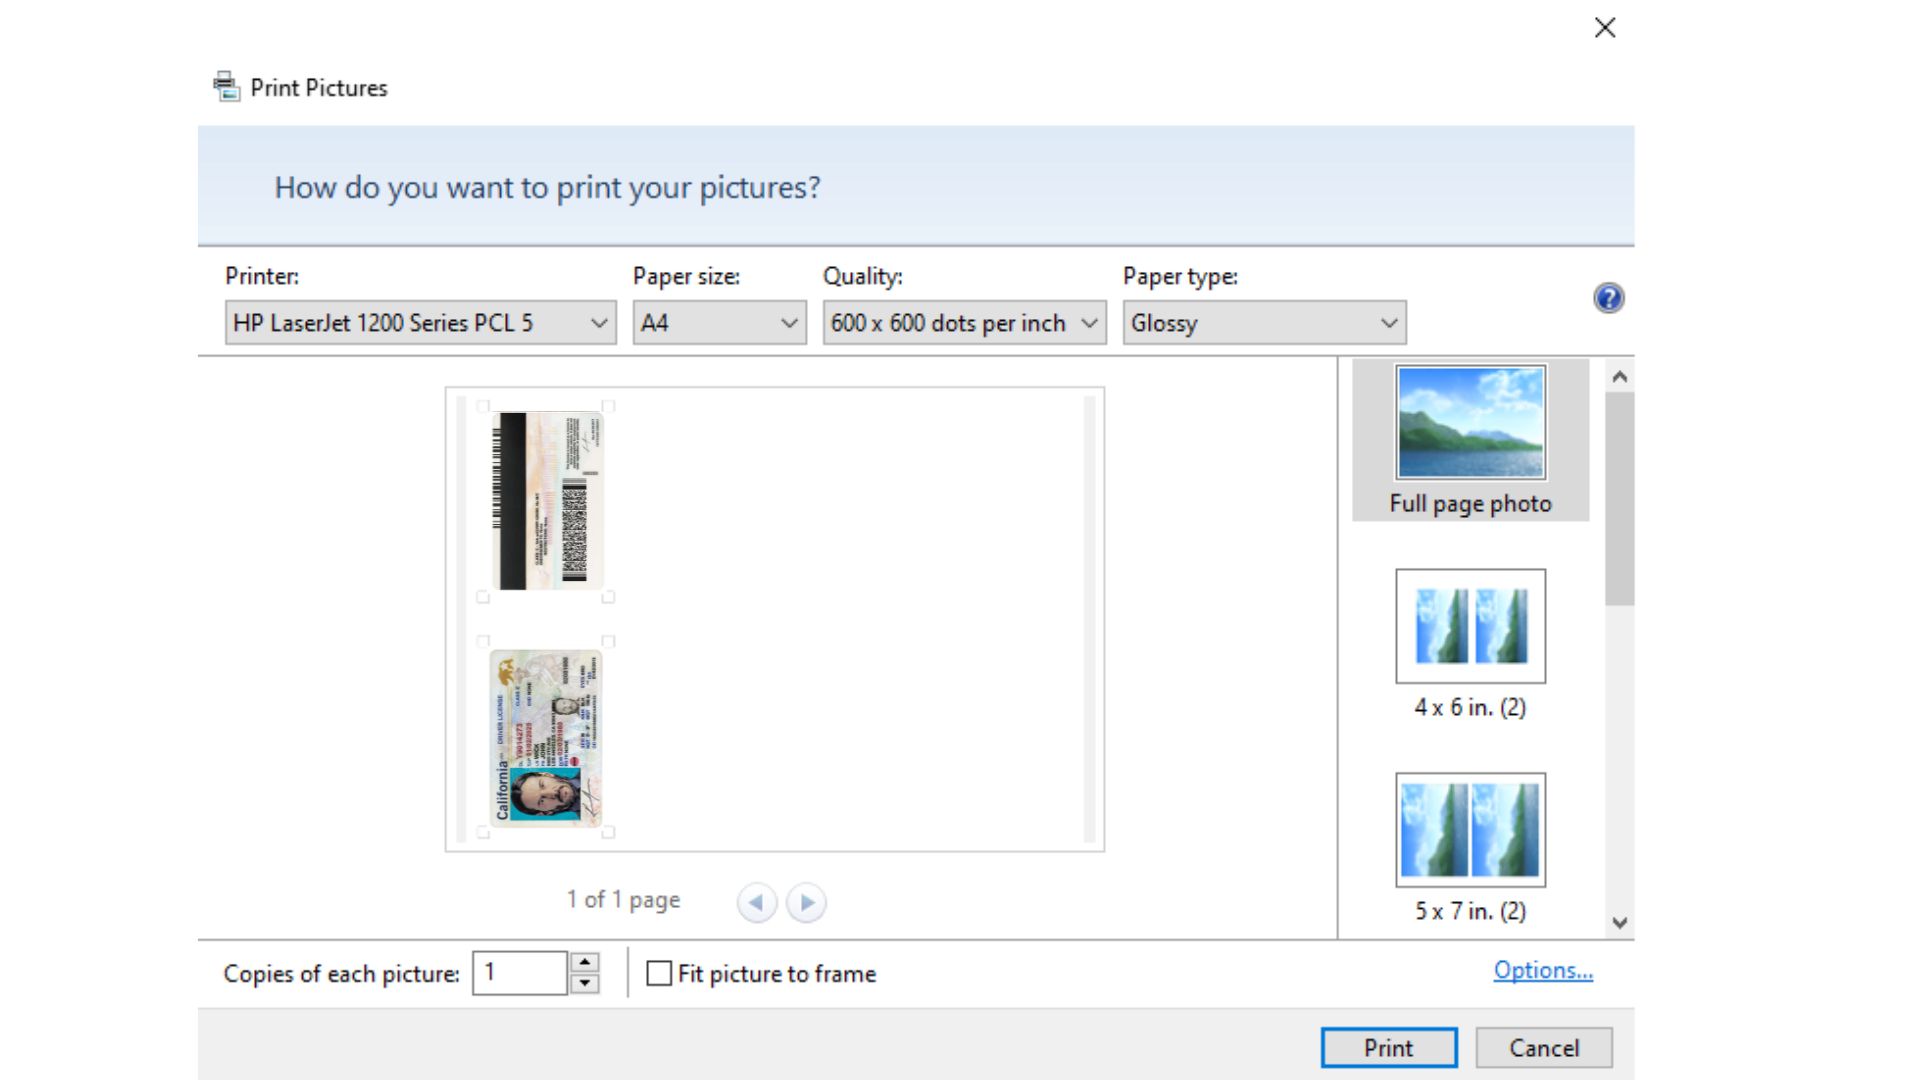
Download the scanned version without the watermark.
Print it out on plain paper.
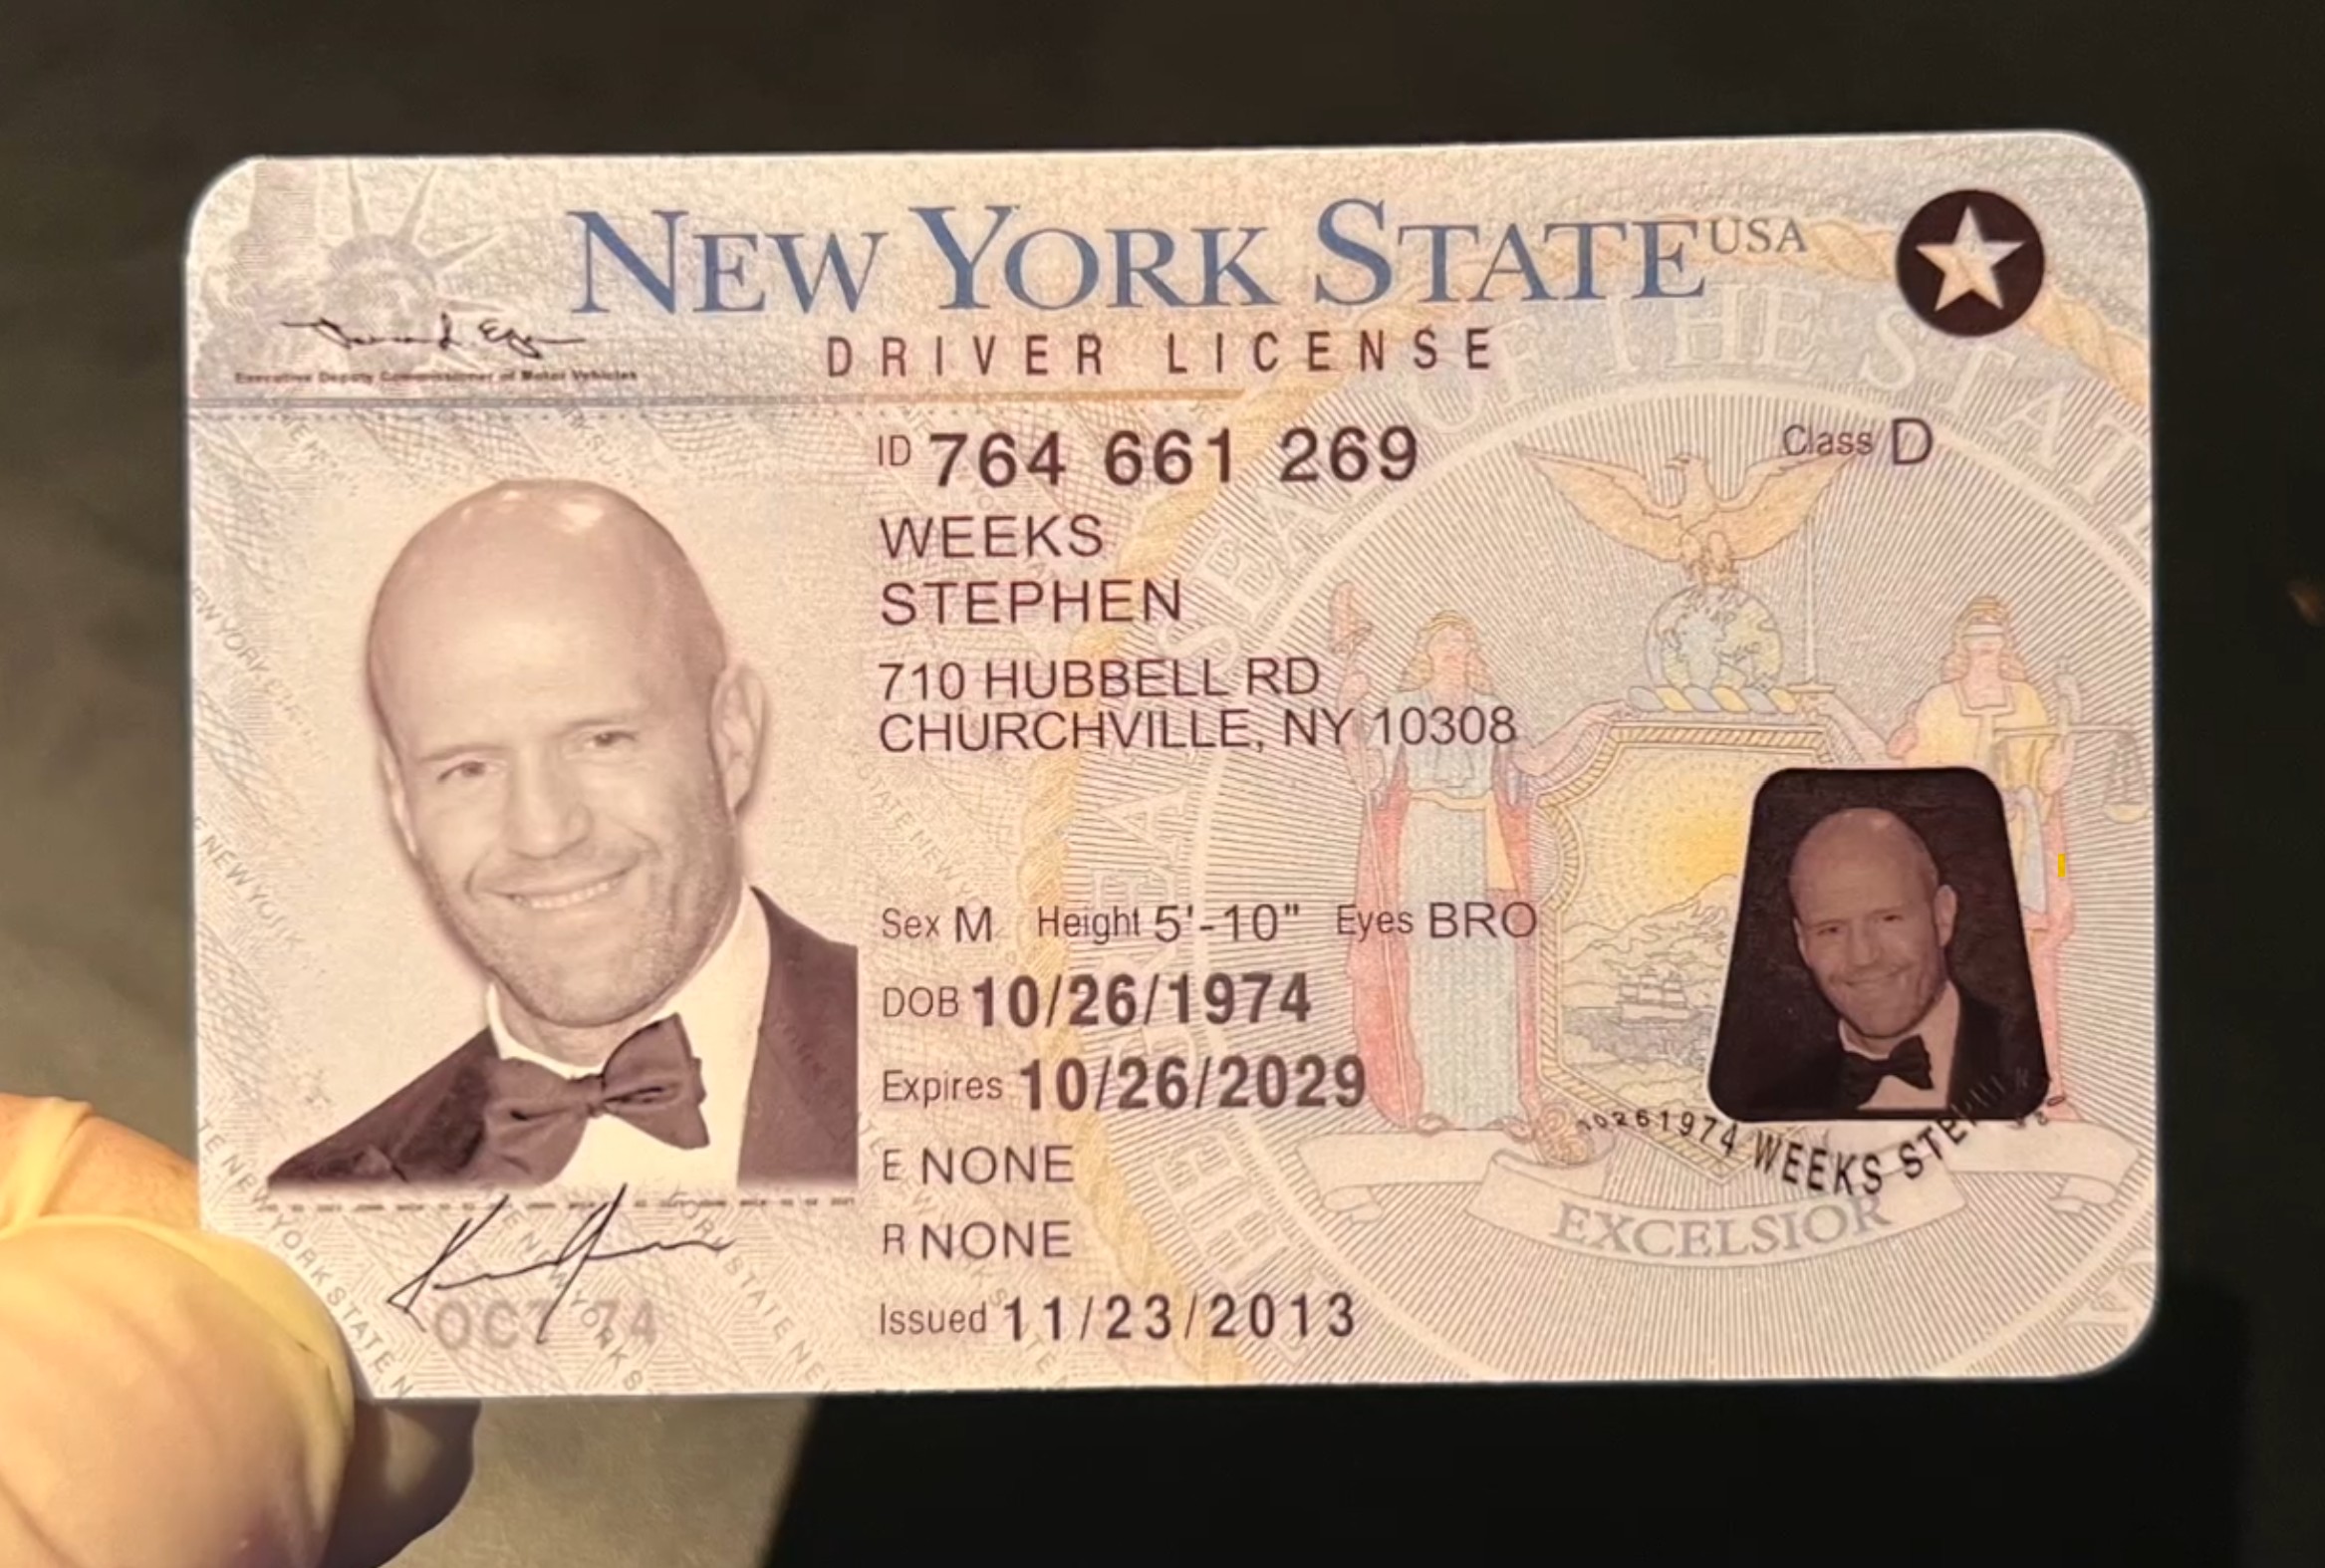
3. Cut It Out and Shape the Edges
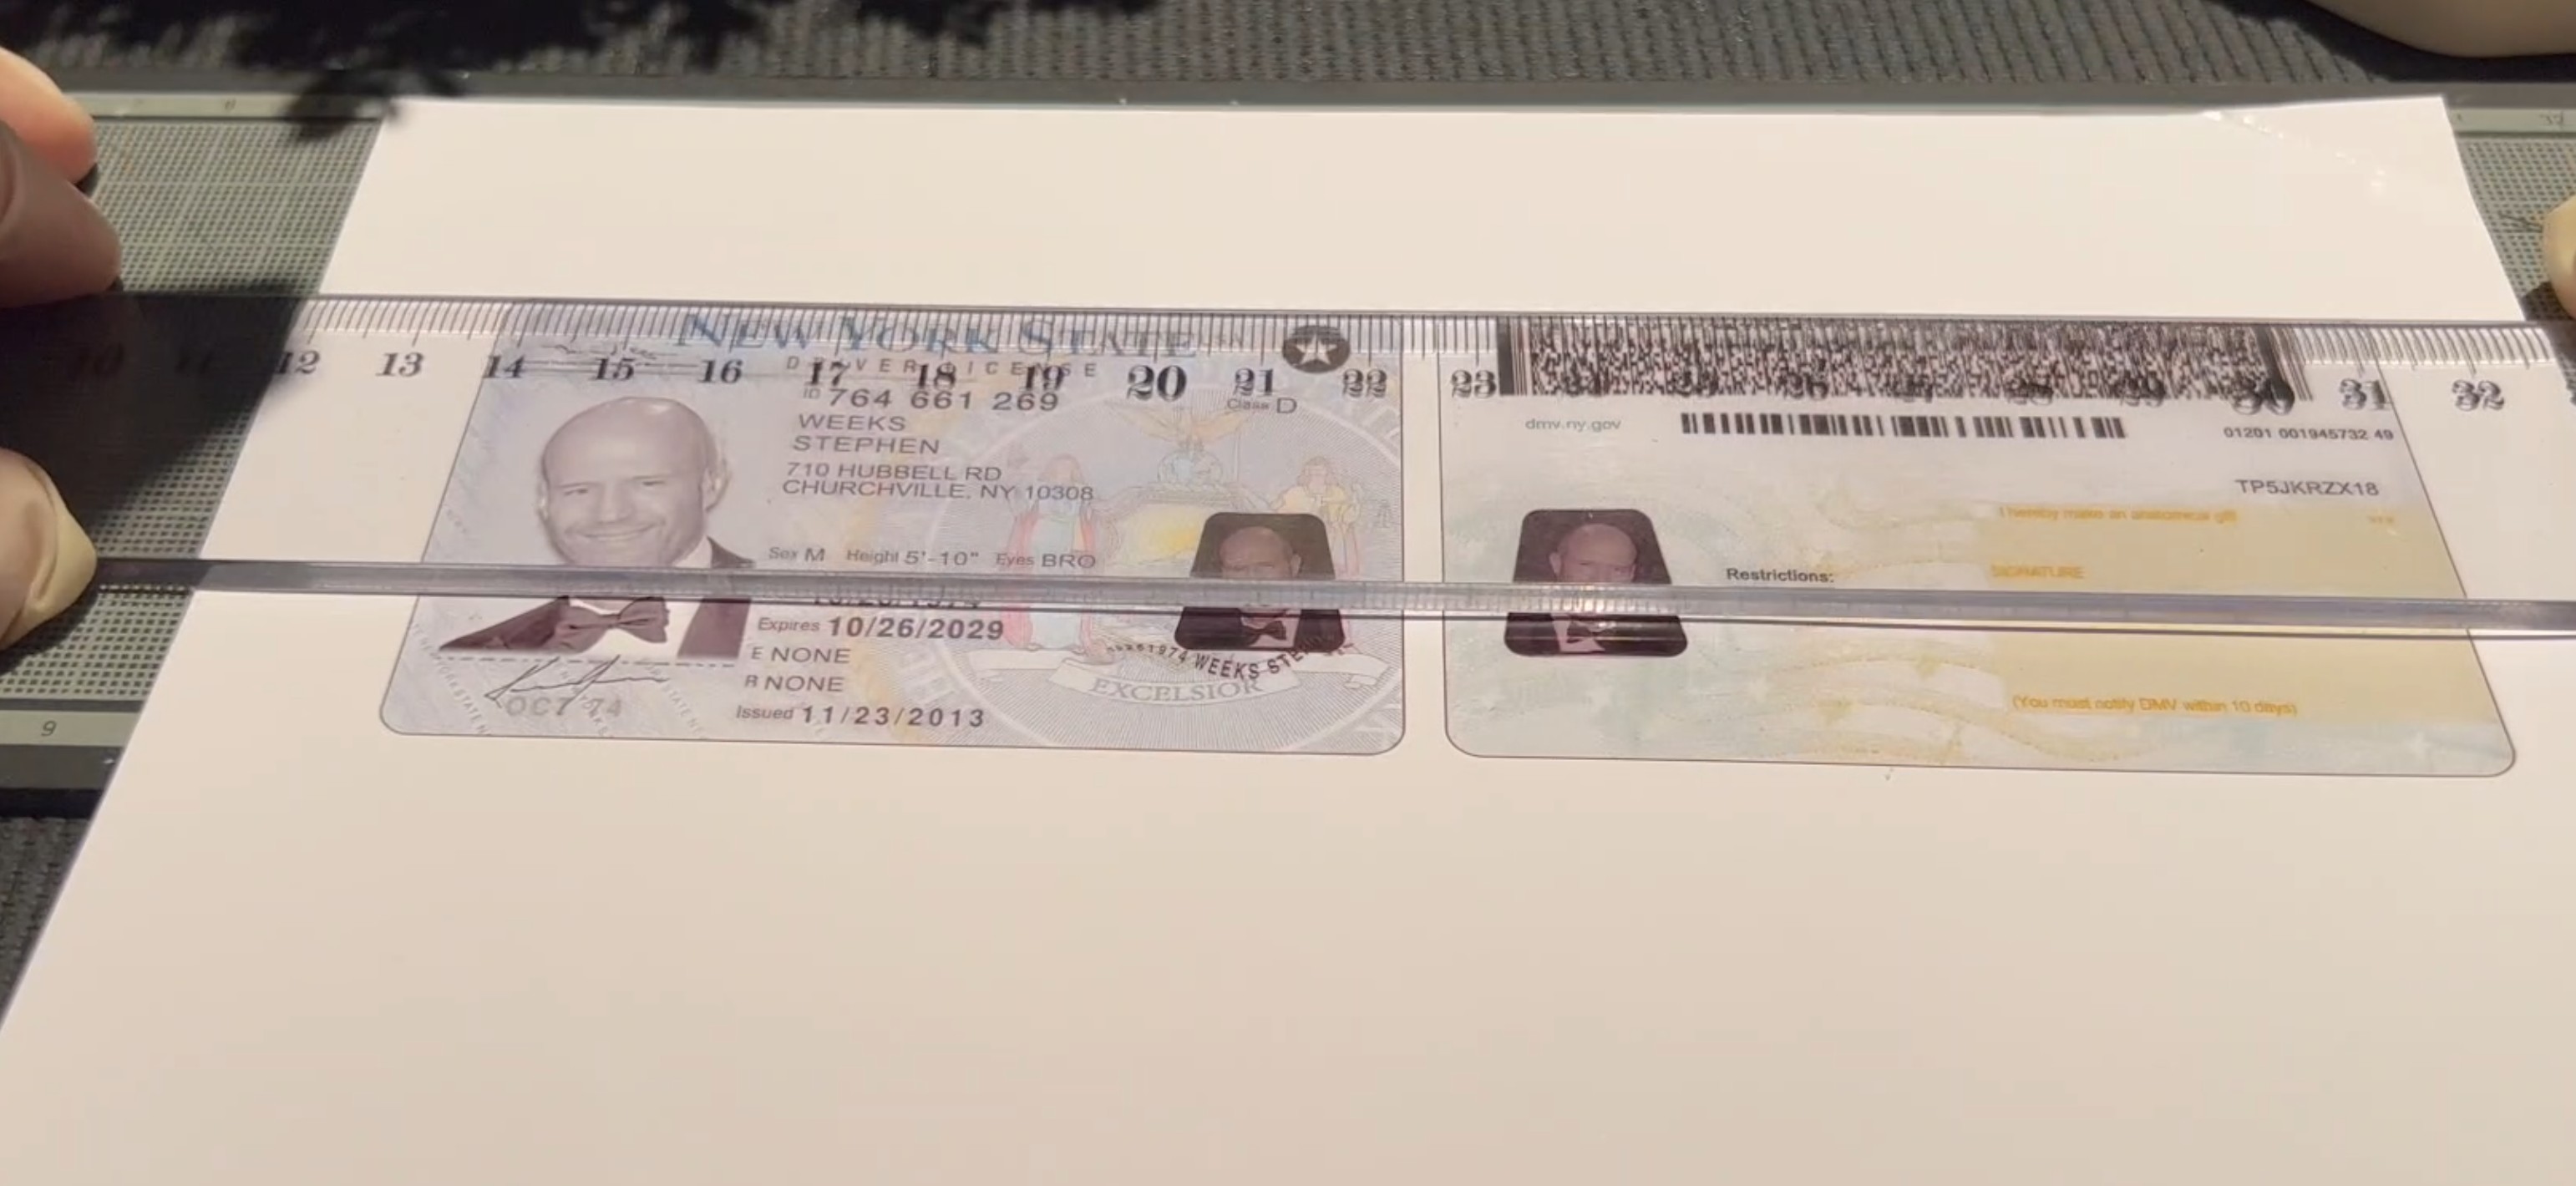
Carefully cut along the outline of your prank document if you want it to look like a card.
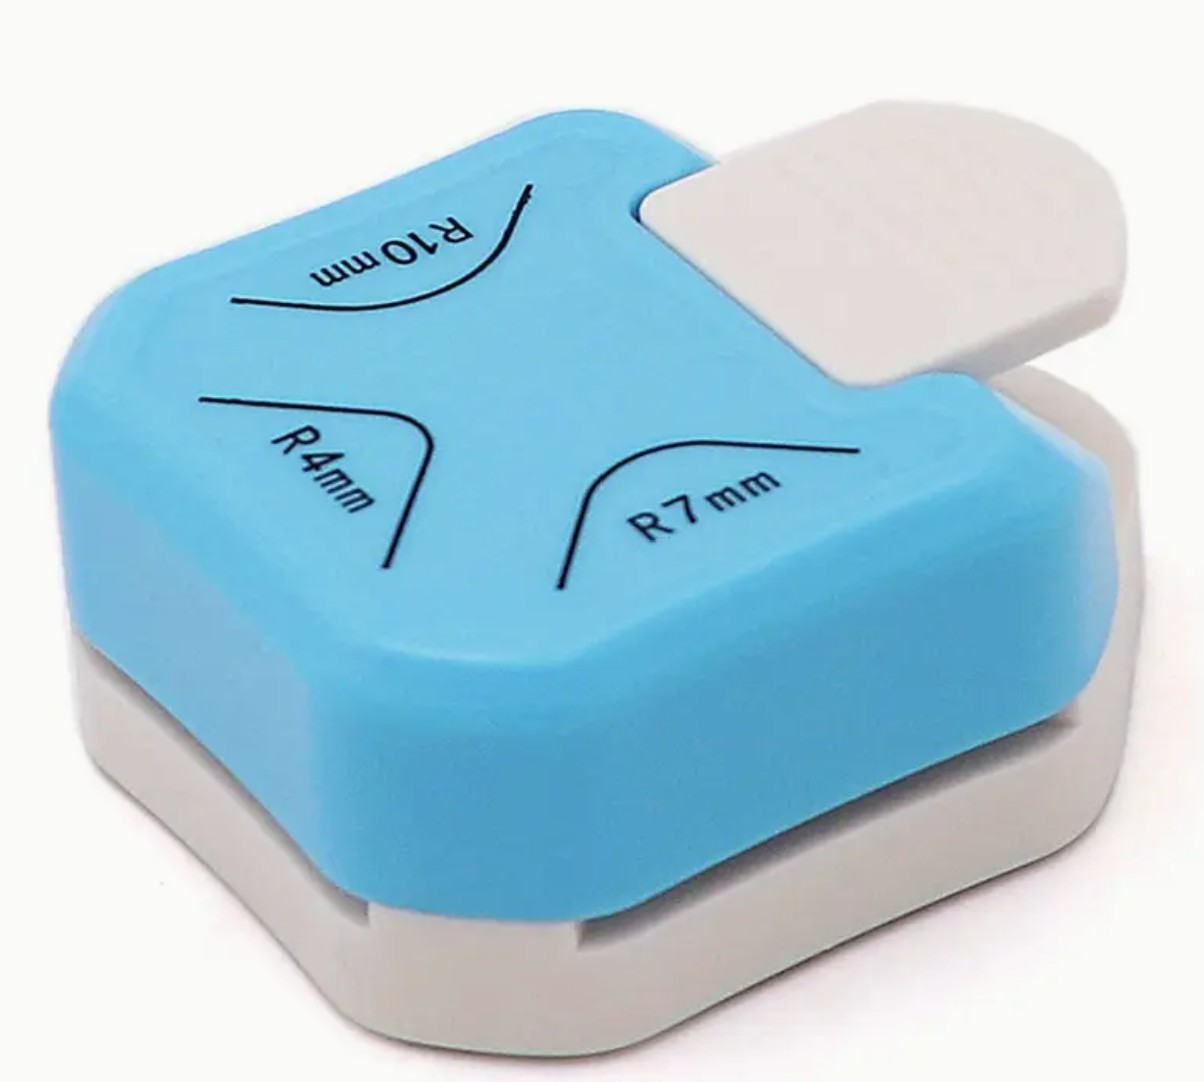
To make the edges curved like a real ID or card
You can use a corner rounder punch (a small craft tool that trims sharp corners into smooth curves).
If you don’t have one
Gently trim the corners with scissors.
4. Get Ready for the Selfie
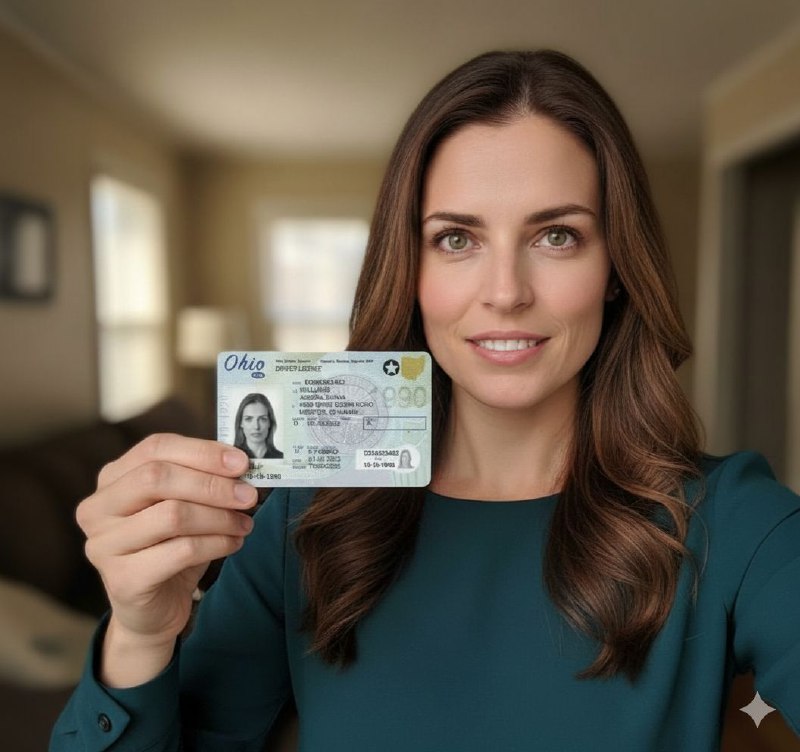
Find a spot with good lighting so everything is clearly visible.
Hold the printed prank document in one hand.
Keep a straight, ID-style expression for the photo.
5. Take the Selfie
Use your phone or webcam to take a photo of yourself holding the document.
Make sure both your face and the paper are fully visible in the shot.
For extra fun, you can stage it as if it’s a serious “verification photo.”